01
Product photos ready to list
Marketplaces want a clean background. One upload gets you there without a lightbox or a photographer.
Upload a photo and get the subject back on a transparent background, in a few seconds. Hair, fur and soft edges are the part that usually gives a cutout away, and they are what this is judged on.

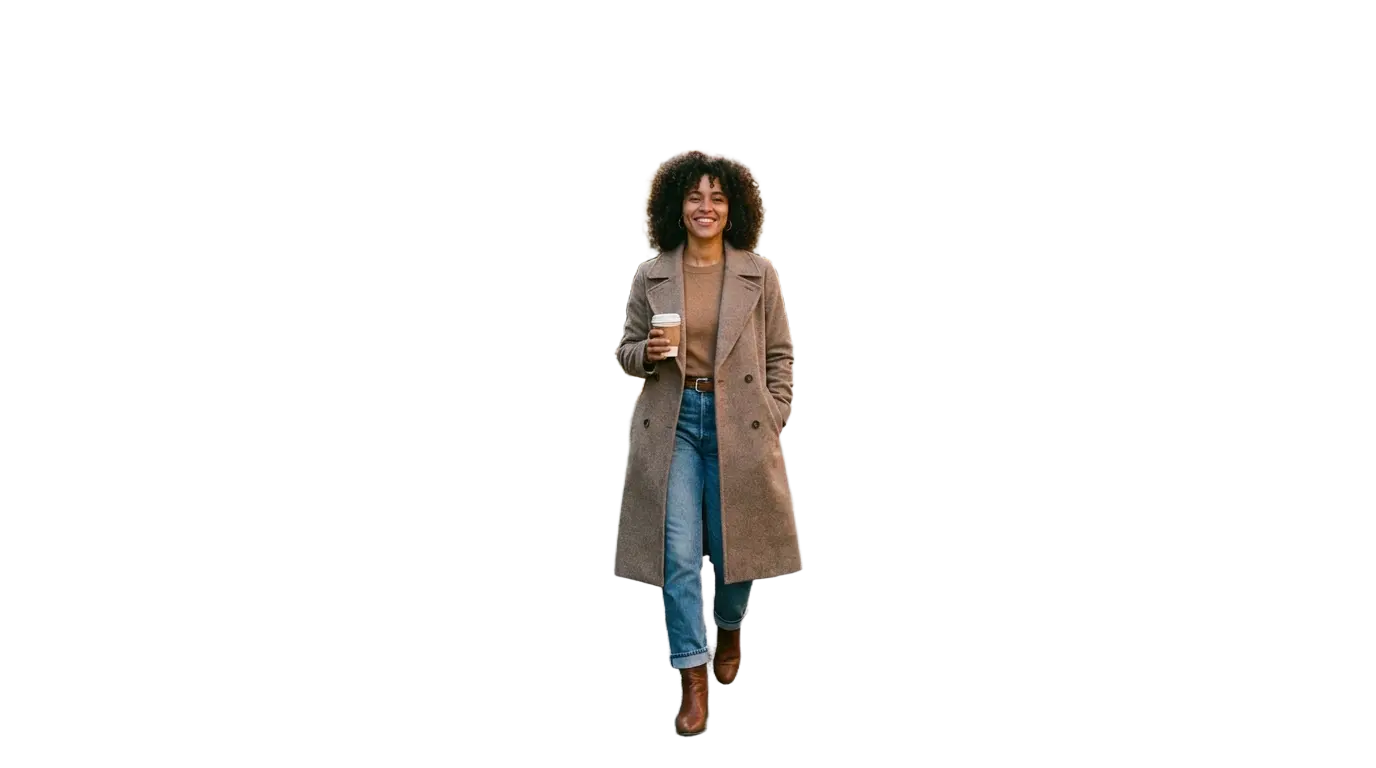
Removing an image background means cutting the subject out of a photo and returning it on transparency. Hair, fur, and glass are matted rather than clipped, so the cutout sits on a new background without a visible outline around it.
How the people who built the model describe it:
“Bria RMBG 2.0 enables seamless removal of backgrounds from images, ideal for professional editing tasks. Trained exclusively on licensed data for safe and risk-free commercial use.”
These are the jobs people actually bring to Remove Background, and the settings each one needs.
Marketplaces want a clean background. One upload gets you there without a lightbox or a photographer.
A subject on a transparent background drops into a poster, a slide, or a thumbnail without an outline around it.
Once the background is gone you can put the subject anywhere: a colour, a studio backdrop, a different photograph.
Remove Background
Remove Background puts the handful of controls that change the result most in front of you, and keeps the rest out of the way.
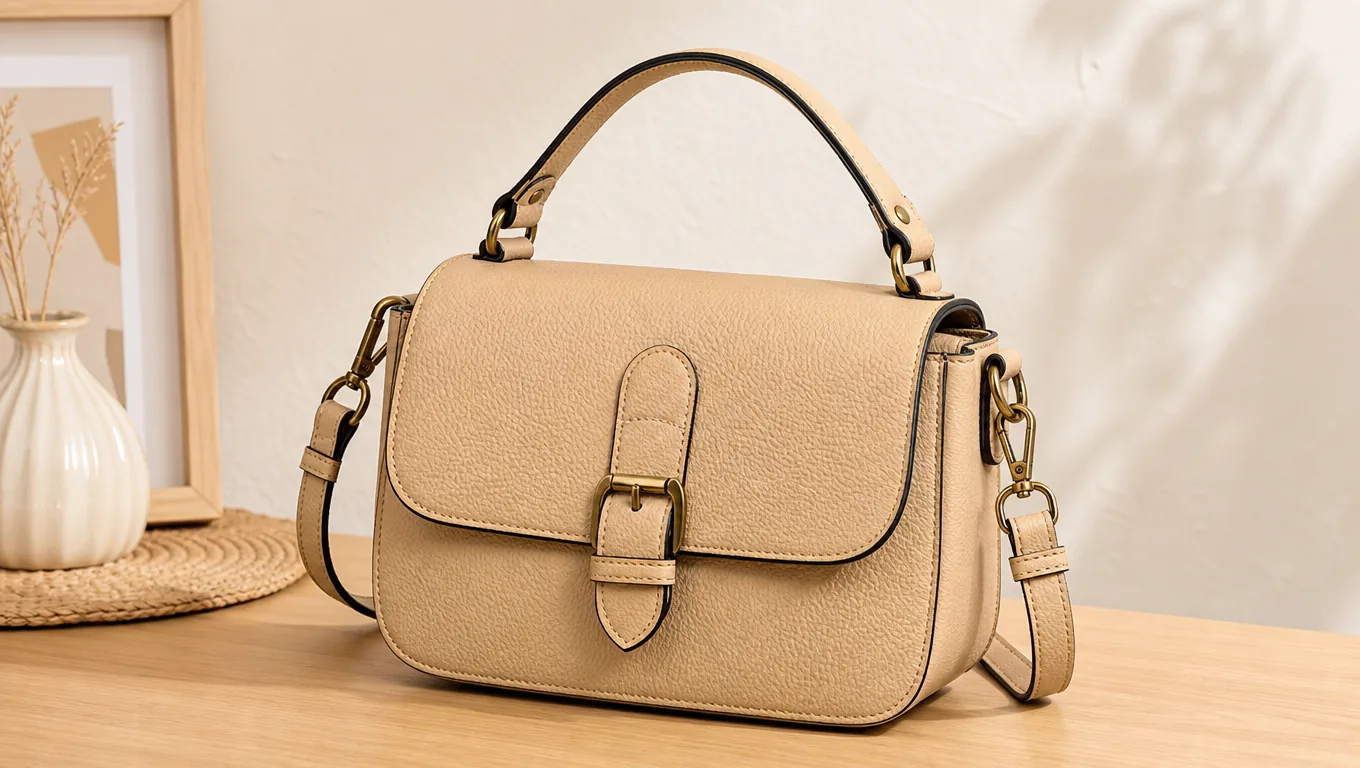
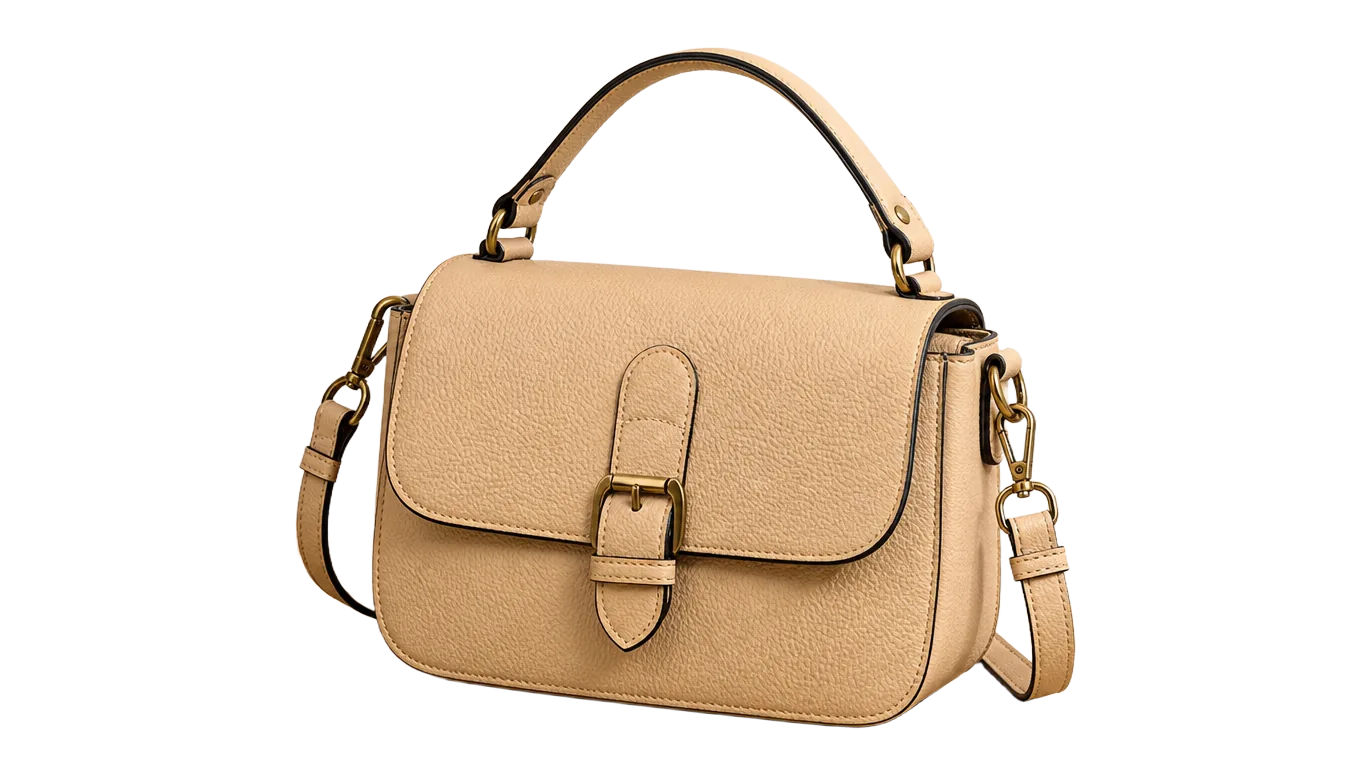
01
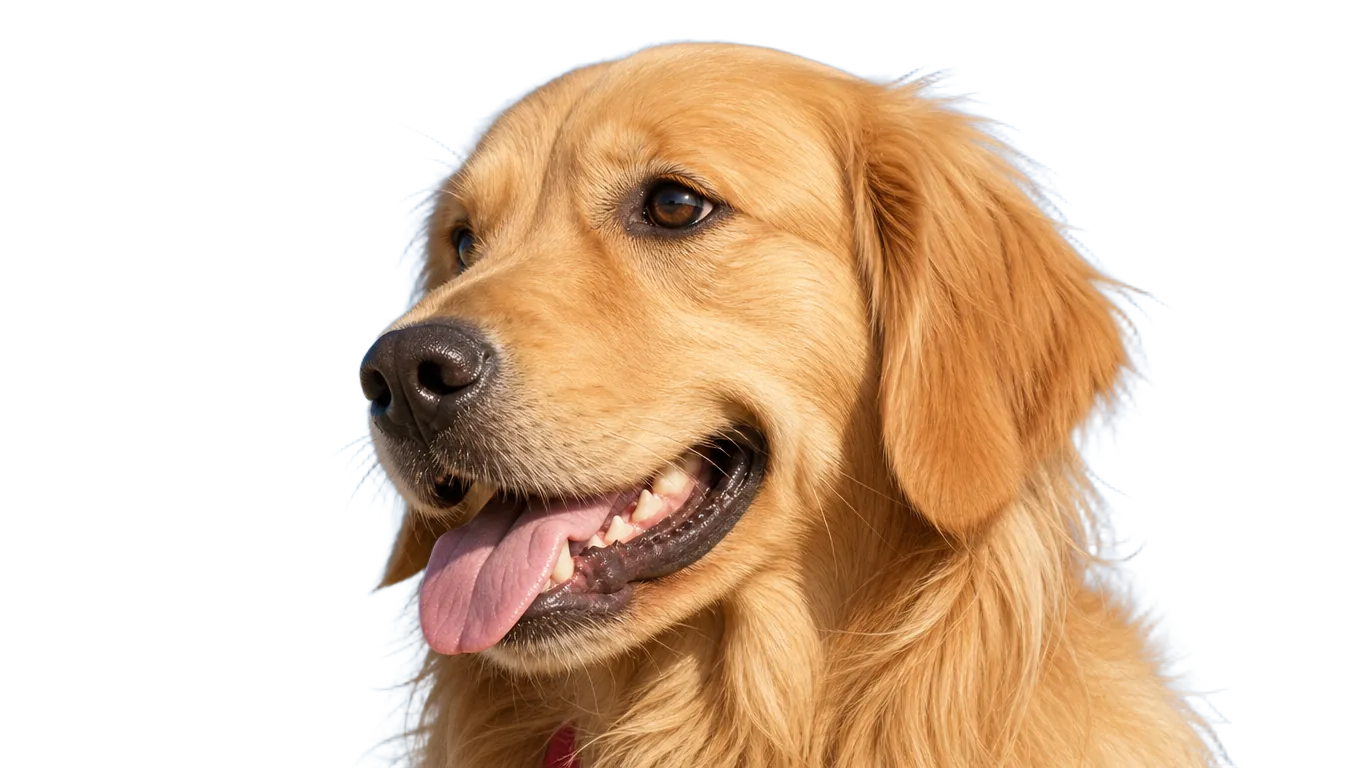
Curly hair, fur, and the gap between an arm and a body are where a cutout looks fake. Drag the slider on the example above and look at the hairline — that is the part worth checking on your own image too.


02
The result has a real alpha channel, so it sits on any colour without a pale rectangle showing up behind it.

03
A run takes seconds, so a photo that comes back imperfect is worth re-shooting or re-cropping and running again rather than fixing by hand.
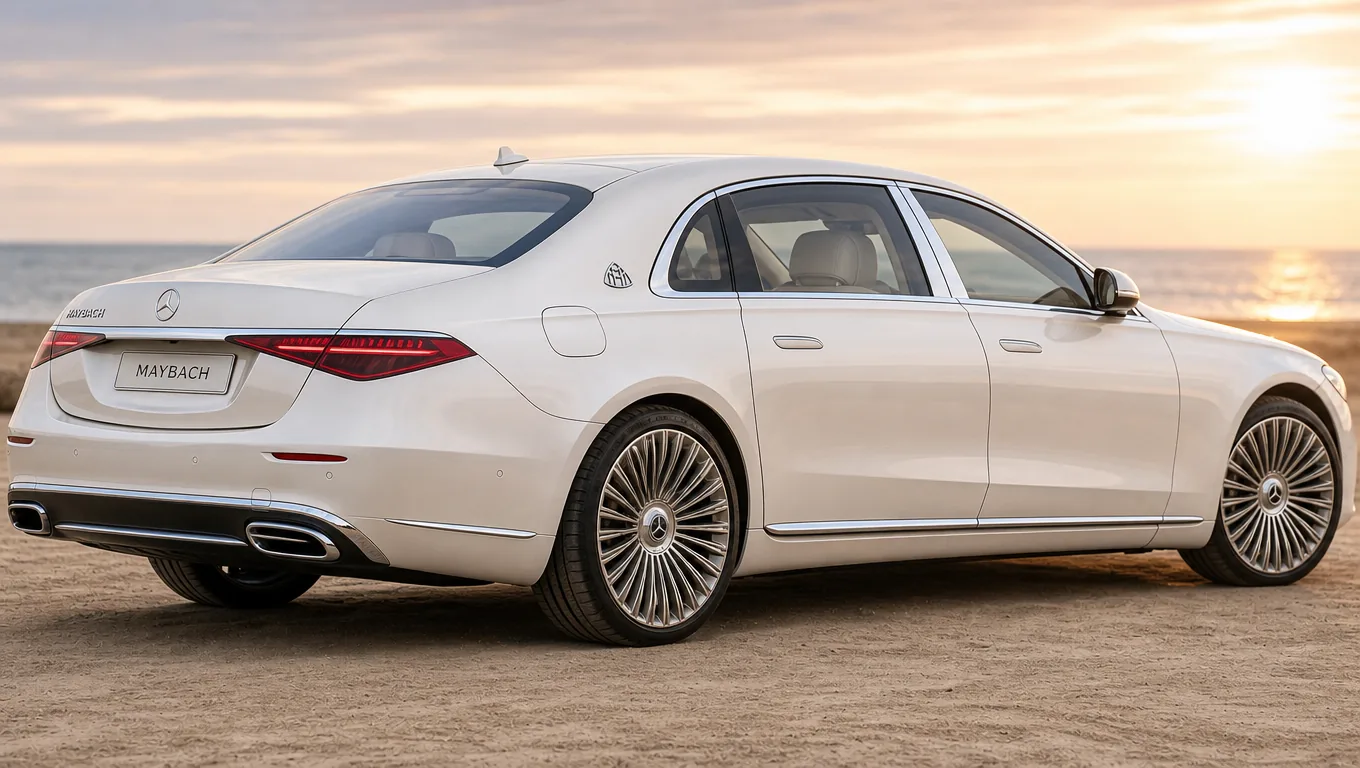
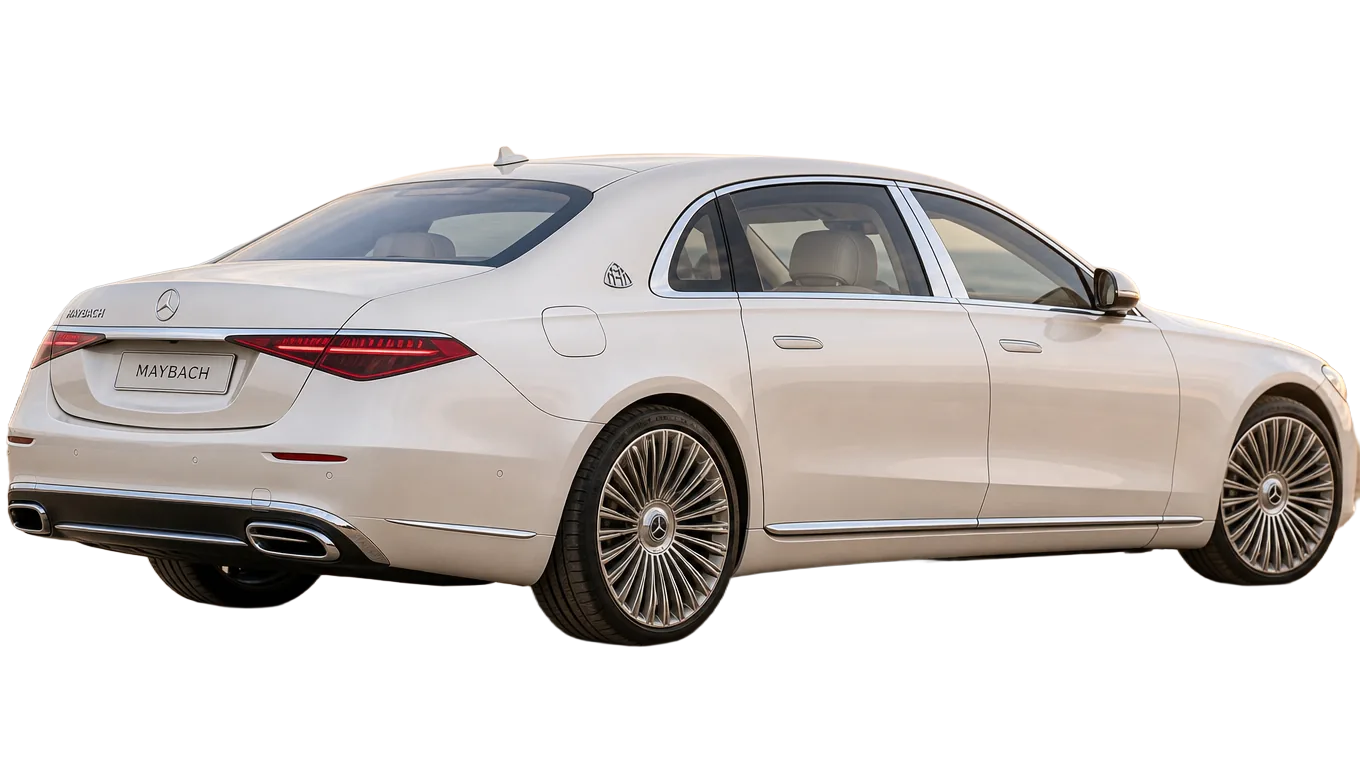
04
The same cutout is what Blur Image Background works from, so softening a background instead of deleting it is one step away rather than a separate upload.
Remove Background
Where Remove Background is the right call, and where a different model does the job better.
Starts from
A photo with a background
You get
The subject, alpha included
Pick this when
The subject is right and the background is not
JPG, PNG or WebP. No account needed to try it — you are only asked to sign in when you submit.
Look at hair, fur, and any thin gaps before you use the result. That is where a cutout fails, and it is quicker to spot now than after it is in a layout.
Take the transparent PNG, or put the subject straight onto a colour or a new background.
Write the brief, submit it here, and follow the result in Studio.