01
Restyle
Explore a new visual language while preserving subject and layout.
Restyle, recompose, extend, or refine an existing visual while using the source as a clear creative anchor.
Creative workspace
Image to image is editing or restyling a picture you already have by describing the change in words. The original supplies the composition and the subject; the prompt decides what comes out different.
How the people who built the model describe it:
“The OpenAI API lets you generate and edit images from text prompts using GPT Image models, including our latest, gpt-image-2.”
These are the jobs people actually bring to Image to Image, and the settings each one needs.
Explore a new visual language while preserving subject and layout.
Change environments, materials, colors, or campaign treatment.
Refine framing, backgrounds, or unwanted details with written direction.
Image to Image
Image to Image puts the handful of controls that change the result most in front of you, and keeps the rest out of the way.
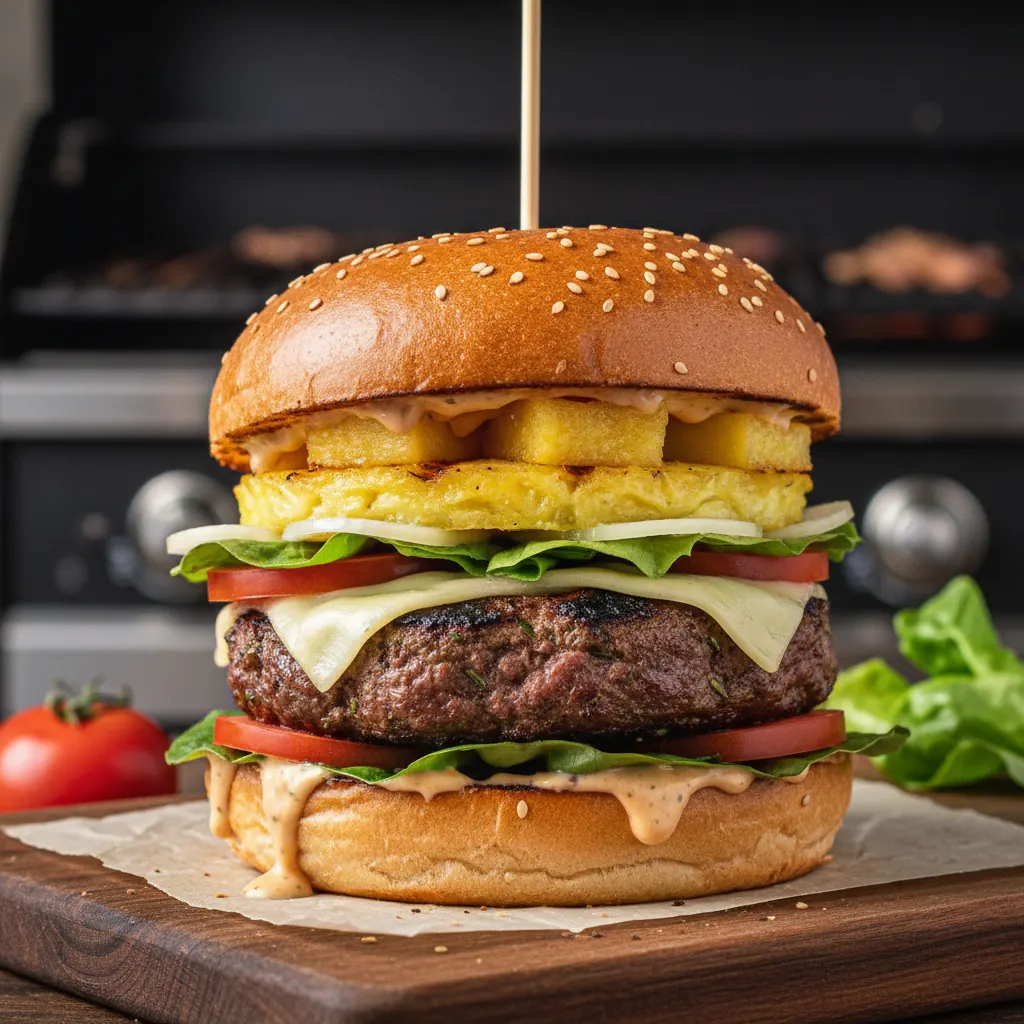
01
Separating edits from invariants reduces accidental drift.
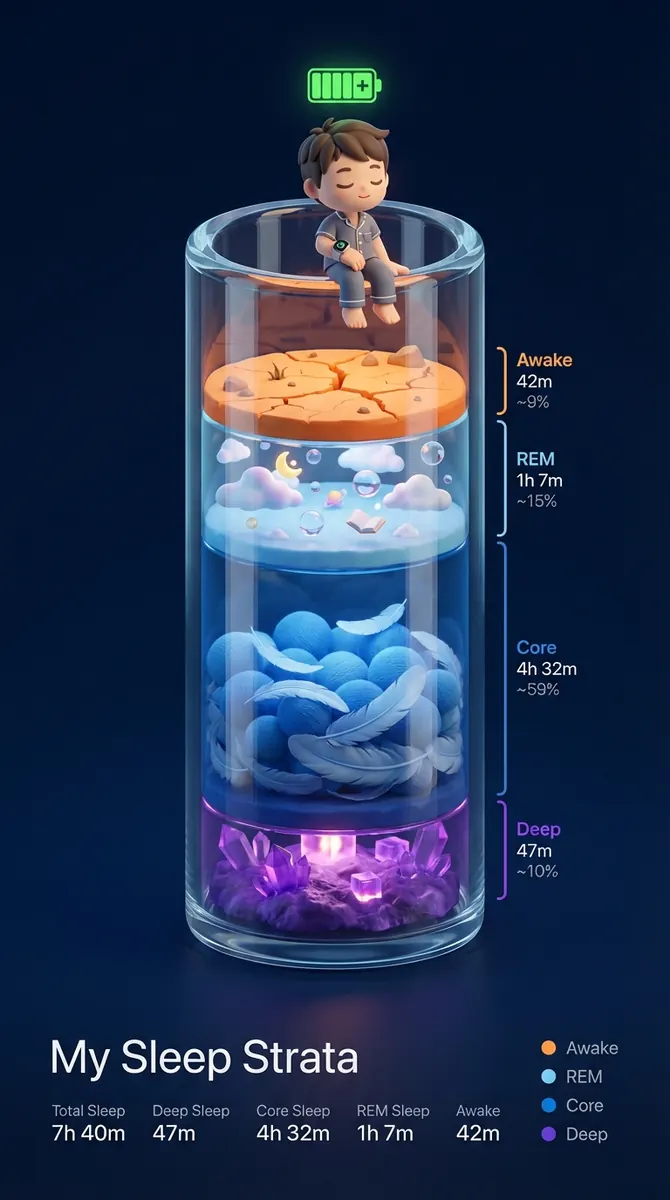
02
The uploaded image stays visible beside every setting.
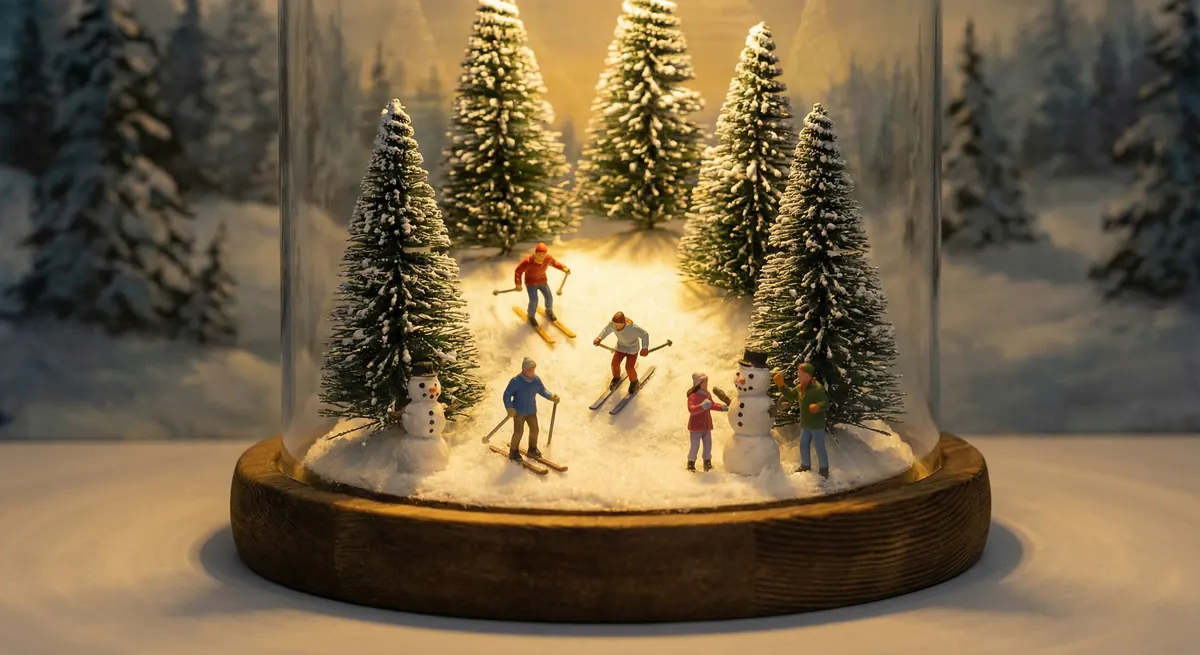
03
Adapt the result to new placements and aspect ratios.
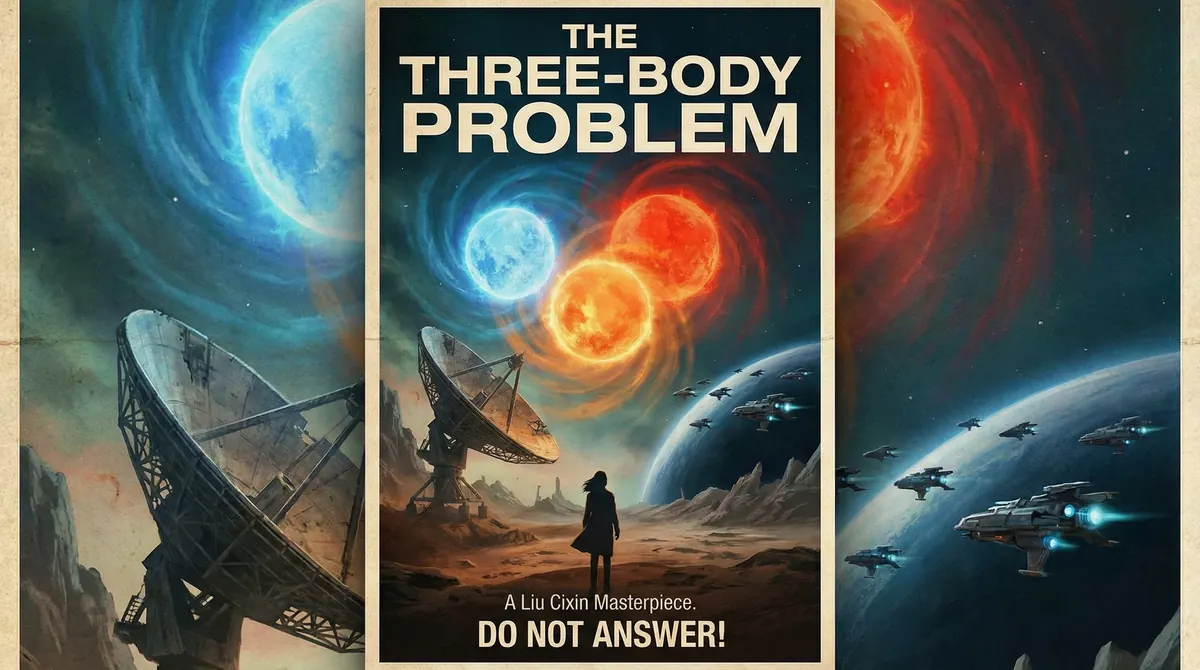
04
Choose for typography, fidelity, speed, or photorealism.
Image to Image
Where Image to Image is the right call, and where a different model does the job better.
Primary input
Existing image + edit instruction
Creative priority
Controlled change with source fidelity
Ideal workflow
Restyle, variants, repair, adaptation
Write the idea and add any source or reference material the tool needs.
Choose the model, format, resolution, and duration that match delivery.
Submit to start the task. Studio shows its progress, the credits it used, and the result when it finishes; a task that fails returns its credits.
Write the brief, submit it here, and follow the result in Studio.